Love under the Big Blue: Our Engagement Session
June 7, 2011 § Leave a comment
EVERYTHING IS HAPPENING SO FAST.
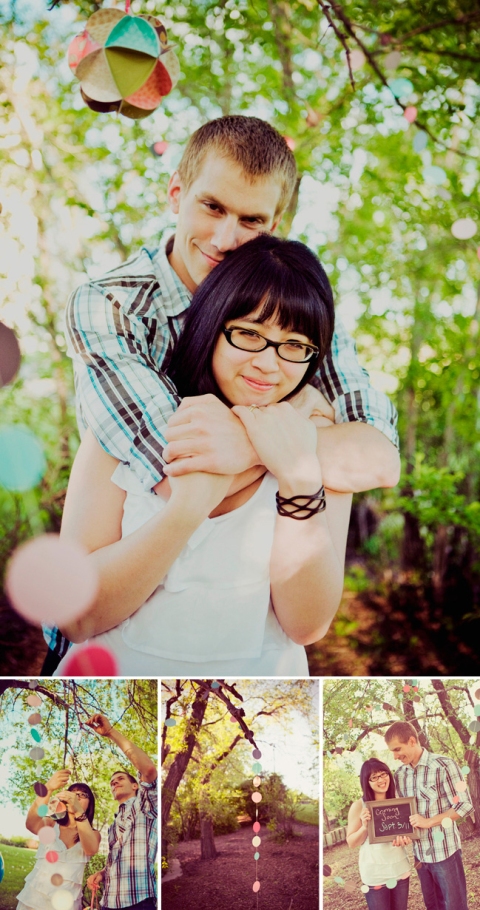
Today, our awesome photographer (Meg at Blue Bird Creative) e-mailed me some of our engagement shots taken at the beginning of the month. I am SO happy with them! I really wanted to do a “sneak peek” shoot where a lot of the elements we’ve incorporated will be seen at our wedding! Here are a few of my favourites!
We finally got to meet Meg after months and months of e-mailing back and forth! We had tons of fun during the shoot with all of our props, and even though Trav and I were nervous, after a few shots, it was like clockwork!
I had an entire bag full of stuff, and it took us a while to set up some of the paper garlands (which seriously took forever because my sewing machine kept jamming) and globes (also took me forever…I figured out a way to fold all the circles without a template…it still takes forever), but it was totally worth it! The chalkboard ended up being a very inexpensive (and spur-of-the-moment) project too! I honestly didn’t think I’d be able to make all the props in time…everything was happening all at once! Luckily, Trav was my super hero and spotted me some glue when I ran out.
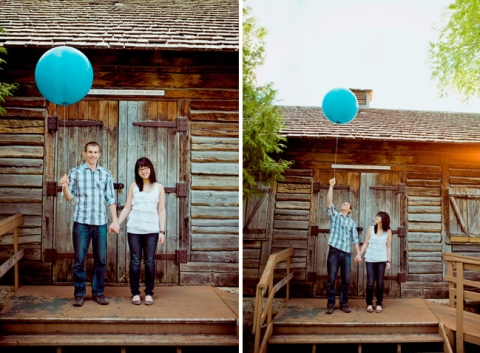
Love this old, rustic mill! We finally escaped the trees and got to bring out Big Blue the balloon! He was kind of annoying to lug around because we were all afraid he was going to pop.
Funny story: The original plan was to get a big heart-shaped balloon for the shoot, but a certain balloon store (that shall remain nameless) LIED to us, and so we adopted Big Blue instead.
Unfortunately, Trav wasn’t using his big engineering brain when he got home, and while we were eating dinner, Big Blue (who was left in Trav’s black civic for a few hours) got a little obese. When we tried to move Big Blue to my car, well…let’s just say it took some creative thinking to get him out!
So I finally got to hold on to Big Blue! However, it was only because:
1. This was the scariest moment of my life and
2. I yelled at Trav for hogging Big Blue.
Seriously. Old train bridges are what my nightmares are made of. I was freaking out inside while Meghan was hopping and skipping down the tracks as if she had done this a million times before (because she had)!
I felt a little braver on the way back. 🙂
Despite being a scaredy cat, I actually had a lot of fun during this part of the shoot! The pictures turned out AWESOME, and none of them show my freaked out face!
I think…
Anyway, at the end of this part of the shoot, Big Blue was ready to have his own adventures…
So, like a rocket, he shot up in the sky and disappeared. It was magic.
Some guy even pulled over on the side of the road to see what Big Blue was up to…
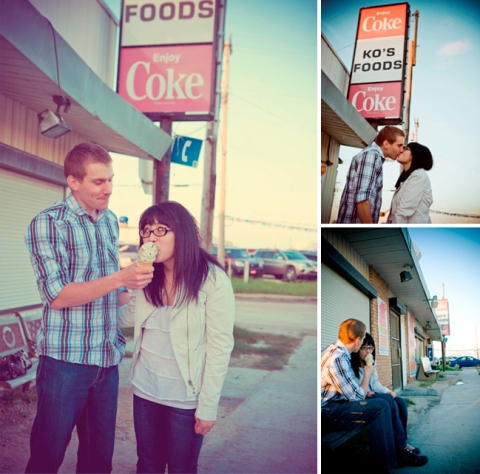
Our last stop was a mom&pop shop with the best ice cream you can find, inside and outside the city. Ko’s has a special place in our hearts. It’s also one of the first places that Trav took me when we started going out. 🙂
Some of our favourite date nights were spent here, sitting on the old benches outside the store, eating ice cream, and scratching “Set for Life” tickets. Even though we’ll probably never win anything, that’s okay with me.
Trav and I are already set for life anyway. ♥
Thanks, Meghan, for capturing all the magic! To see the rest from our engagement shoot, click here.
DIY Valentines
January 10, 2011 § 1 Comment
There is always room in my heart for a simple craft…
I spent an afternoon at Michael’s Arts & Crafts and let me tell you…it is a DANGEROUS thing to let me in there. I get ideas. Expensive ideas. And then these ideas start to get out of proportion and suddenly, I’m spending about $200 for a silly little idea that usually ends up on the floor or in the trash…
I shouldn’t be allowed in there. It’s a miracle that they even let me work there while I was in high school. Back then, I wasn’t as dangerous…in fact, I hated the place. I always came home smelling like cinnamon (and I LOVE cinnamon) and covered in glitter. And my neck always hurt from those infamous red aprons!
But now, having some extra time, I find myself perusing each aisle, thinking about what I could do with this cardstock, and this stamp set, and this yarn (!!!)…
There are no “OR”s when I’m in Michael’s. “Balls deep or nothing,” as Trav always says…
That afternoon, however, was a bit different. I came with a list of things that I “needed”. Hurray for pre-planning! Yes, things got a little bit out of hand when I wandered into the yarn section of the store, but I came out victorious!
And to celebrate, here is a little DIY project, just in time (or a little early) for Valentine’s Day!
—
Project Duration: ~ 2 hours, depending on quantity made (I made 10 in about 2 hours, but was also carefully documenting each step as I went along). It’s the perfect afternoon project! 🙂
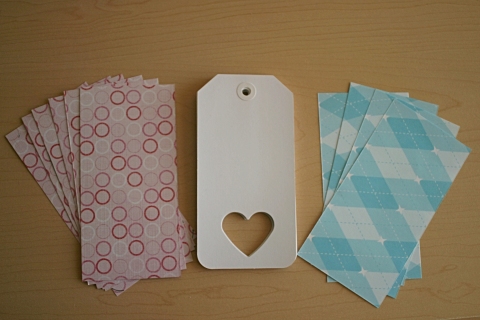
What you’ll need:
- Scrapbook paper
- 2 5/8″ x 5 1/4″ (6.6cm x 13.3cm) cardstock tags (or you can make your own)
- Hemp cord/twine (about 10″ -12″ for each valentine)
- A heart craft punch (large or small; this tutorial makes use of the large punch)
- Scissors
- Glue stick
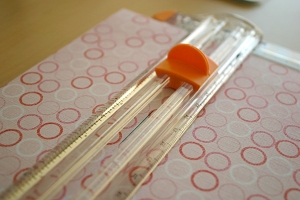
- Paper cutter (not shown)
- A regular hole punch (not shown)
- Heavy textbook (not shown)
- Scrap paper for gluing (not shown)
Instructions
Step 1: Use the craft punch to cut out hearts from the cardstock tags, making sure to properly align each tag so that the heart is centered.
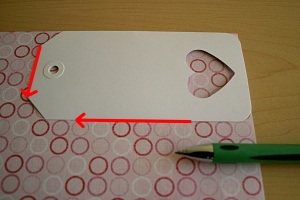
Step 2: Align the edge of a tag along the edge of the scrap book paper. Trace the side and top of the tag onto the scrapbook paper (front or back, it really doesn’t matter). Don’t trace the angled or rounded corners (see red arrows).
Step 3: Using a paper cutter, cut the scrapbook paper along these lines. You can use this cutout as a template for the rest of the valentines, or you can do it one by one if you are *ahem* picky. In the end, it won’t matter too much.
After this step, you should end up with this:
 Step 4: Start gluing like a crazy person! Glue the “back” (or front) of the tag AND the patterned side (or “front” side) of the scrapbook paper. You could glue one or the other (tag or scrapbook paper), but I find that when you put everything together, the tag and paper tend to come apart, especially at the edges. The more glue, the better, but watch out for glue chunks! They produce bumps in your valentine. You definitely don’t want a Quasimoto in your valentine (sorry Quasi…)! You want to do this step quickly so that the glue doesn’t dry before step 5!
Tip #1: When gluing the scrapbook paper, be aware of where the heart will go when you put the two pieces together. You don’t want the tag to be gluey and gross where the heart cutout is. If it’s easier for you, you can align the tag with the scrapbook paper and trace the heart cutout onto the paper with a pencil so that you can see where not to glue. I am obviously too lazy to do this, so I just glued around the general area.
Tip #2: For a cleaner work surface, use the scrap paper as you’re gluing along the edges of the tag and paper. In this photo, I’m using an index card because for some reason, I didn’t have any scrap paper around… Note: I highly suggest you do NOT use newspaper, since the print can transfer onto your nice, clean tag.
 Step 5: Lay the glued side of the tag on top of the glued side of the scrapbook paper. For me, the cleanest and easiest way to do this was to cup the scrapbook paper (glued side up) in my hand, bending it slightly. I would then lay the glued side of the tag on top of the paper, using the fingers and thumb to align the edges together. The good thing about glue from glue sticks is that it allows for some adjustment if needed.
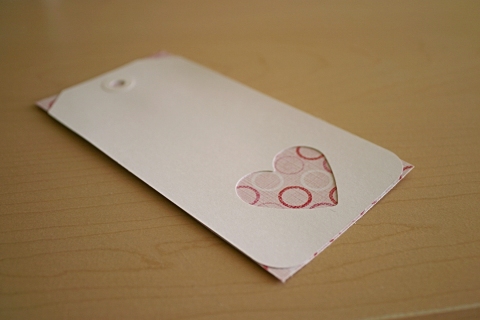
Step 6: Carefully lay your valentine between the pages of a heavy textbook, and close it. Stand on top of it for a while (or put other heavy textbooks on top) to make sure that the two pieces stick together adequately. 15 minutes should do the trick. In the end, you should end up with something like this:
Step 7: Trim off the edges of the scrapbook paper with scissors. Using the regular hole punch, punch a hole where the scrapbook paper is covering the hole at the top of the tag.
Step 8: Measure out about 10″-12″ of hemp cord/twine and feed it through the hole at the top of the tag. Tie a knot (or a bow, but this was ridiculously hard to do) and voilà! You have your very own handmade valentines to send out to your besties!
Don’t forget to write a little message, too! Just keep it short and sweet…these valentines aren’t made for essays! 😉
—
DIY Project Damage: Approximately $55.64 for 10 Valentines
WHOA. That’s a little expensive. But keep in mind that I already had most of the supplies, and only needed to buy a few extras. In total, my cost was around $10.00, and that’s not including my use of the (in)famous 40% off weekly Michael’s coupon. For the frequent scrapbooker, this project is pretty much free.
Still, $1/valentine is pretty good, but let’s not look at numbers. Instead, let’s think about this:
This D.I.Y. Project was made with love.
And lots of it!

